EDIT: As of 11/17/2024 - This post has been restored pretty much "as is" for now.
I'll be back with more updates soon.

Disclaimer: This post is for beginner to intermediate engineers and developers, maybe even for some seniors & experts. You guys might actually learn a thing or two if you don’t already ‘know everything’. LOL I’ve decided to break this blog post into several parts because there are A LOT of technologies involved and I want to cover them all fairly. Finally, none of the resources I share here are paid promotions and so I just hope this helps you like it helped me.
Discovery
Below is a link to the project I built (final builds may vary). Before I get into the development process, I want to introduce the project and discuss the tools and resources I used for development and a bit of their history.
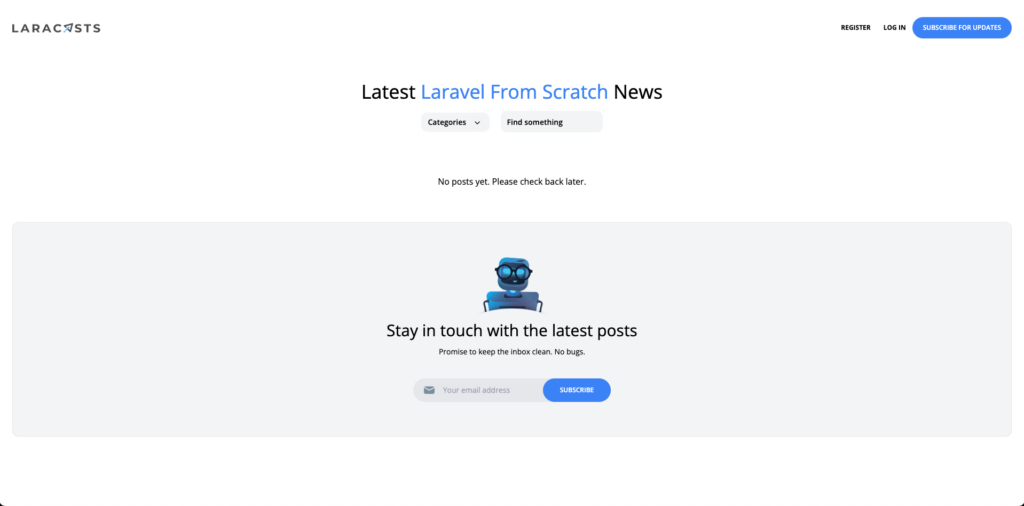
Here’s how it looked before I edited it.
-
Tech Stack – Click here if you’re wondering WTF is a tech stack? 🍔 (This burger looks tasty. I wonder what happens if you click on it? 🤔)
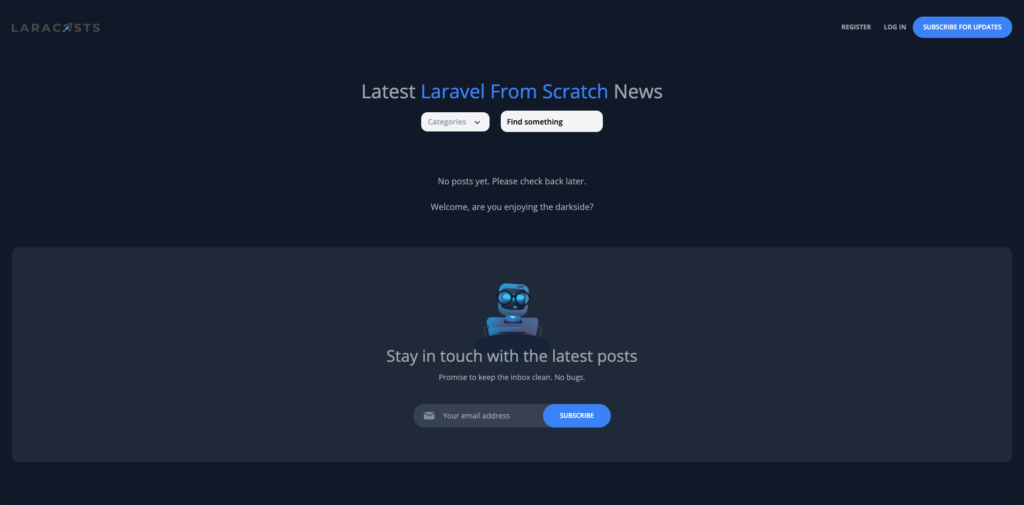
Screenshot of my live Laravel website
Confession: I didn’t write this code. Well, not all of it. Jeffery Way is the original author of the code. I just downloaded and edited it to add a dark mode feature and some other things. Because every website should have a dark mode. 😎 🌃
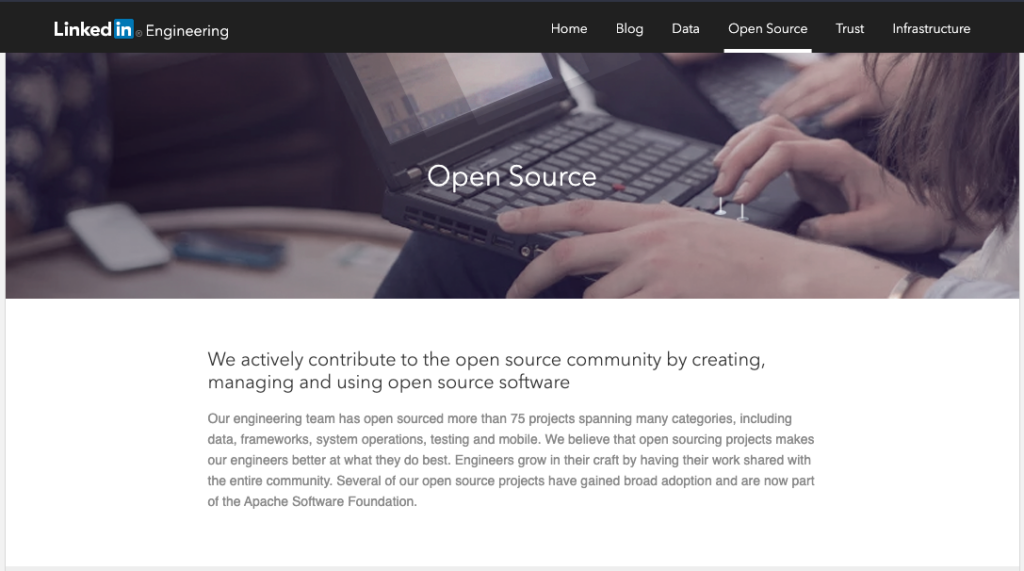
This happens everyday. Developers collaborate, test, review, make changes, add updates, add features and make other edits to other programmer’s code ALL THE TIME! This is what open source software (OSS) is all about! Many companies, like Linkedin contribute to the open source community.
Click the image to see Linkedin’s Open Source page.
I’m still working on it. Good things take time! ⏱ I appreciate your patience. Consider that I started this project only 5 days before the time of this writing.
While you’re considering, also consider what Amazon.com used to look like back in 1995. A lot has changed since then!
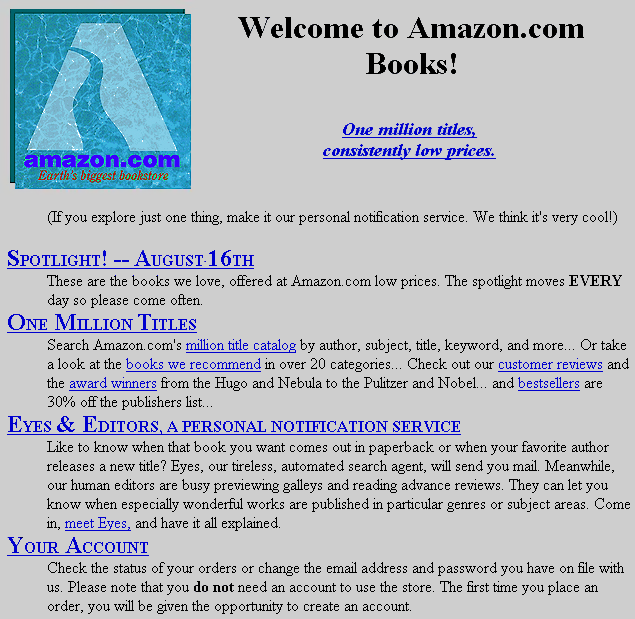
Click the image to see where I got it from or the source.
My point is it takes time, patience, iterations (changes), deployments (publishing) and testing to get it right. Even then you’re still not quite done yet. But you’re way better off than from where you started.
Now you need a system to make LOTS of quick changes to your website and test them in HOURS instead of DAYS. This system will help you get your website to where you want it to be really quickly! Continuous Integration and Continuous Delivery (or deployment) a.k.a. (CI/CD) has entered the chat.
But before we get all excited we have to set up our entire development to deployment pipeline 1st. We have to be careful because we don’t want our data leaking all over the place!
You may be entitled to compensation if your personal data was involved in a data breach.💰
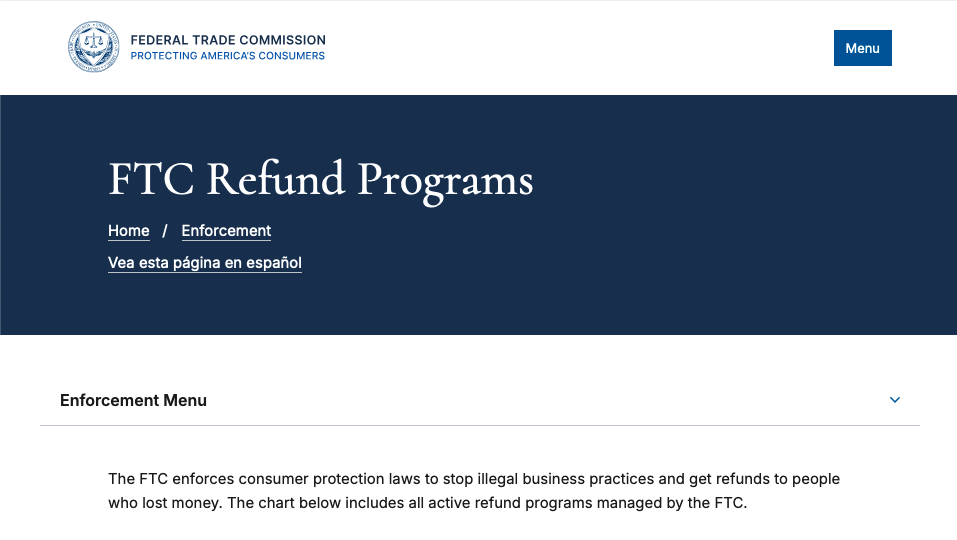
Here is a popular resource you can use to check if your information has been leaked as a result of a major data breach.👇🏾
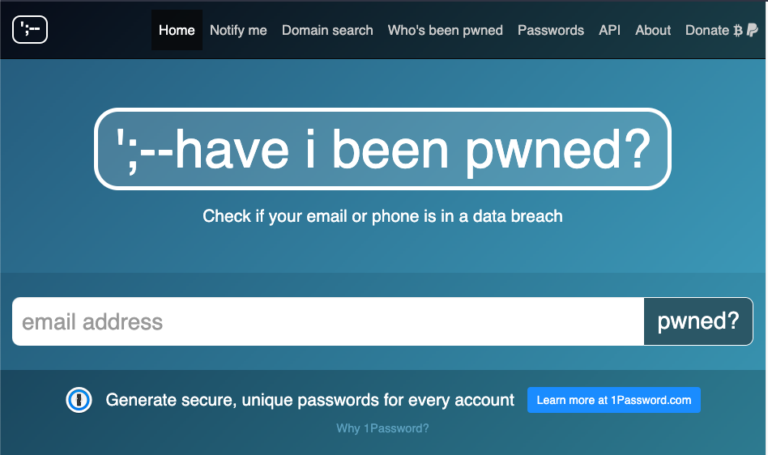
Here’s another resource you can use to check if your data has been involved in a major data breach.
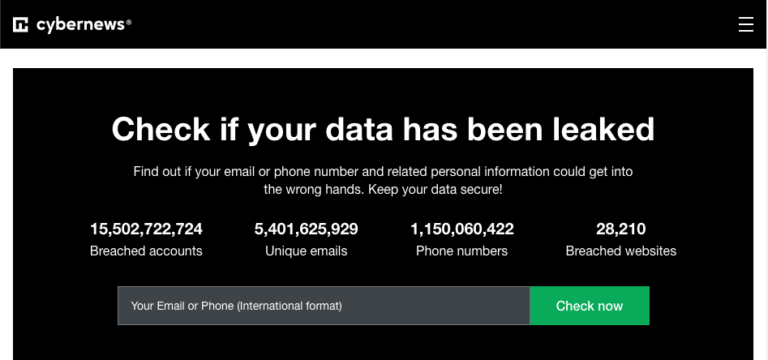
Back to data pipelines and fixing data leaks. It really is a lot like plumbing. 🪠 Kinda reminds me of some cool plumbers I know from Flatbush, Brooklyn, NYC 😉

Shot of Mario from Nintendo’s Super Mario Bros franchise of video games.
Planning
Here is where you have to start asking a lot of questions. Like, when my app is done where will it live? How will it get to it’s new home from my computer? What vehicle will take my app to its destination? Will it arrive safely? What’s the best home for my app?
Answering those and any other questions you may have will help guide you towards a reasonable solution just like the Solution Architects (SAs) do. 💰
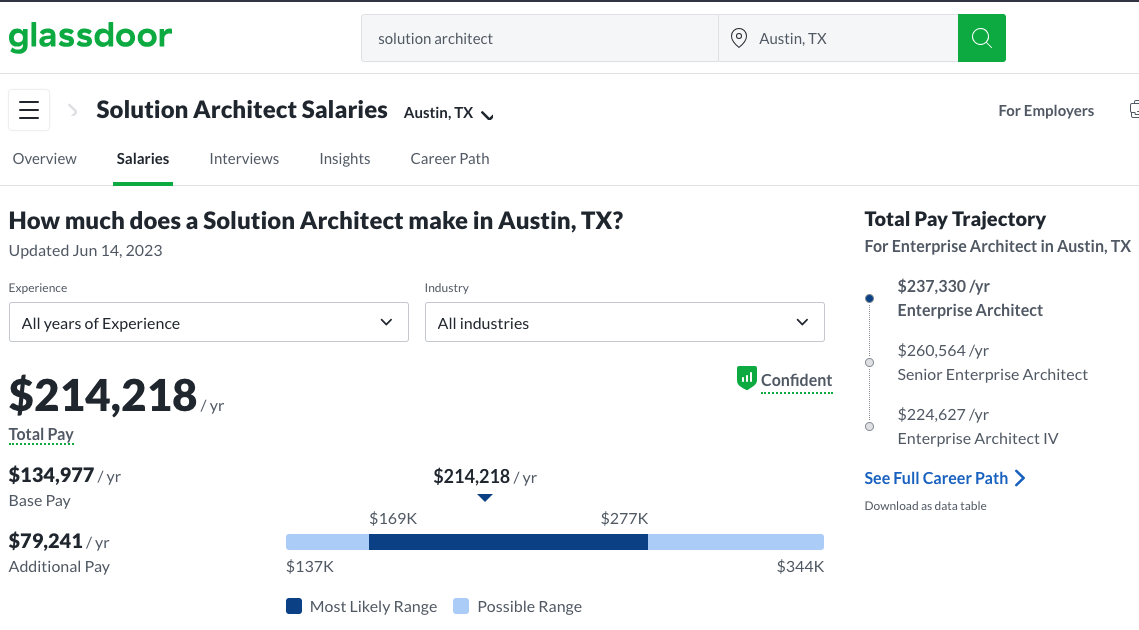
In addition, SAs also have a framework that helps them make decisions based off of situations, environments and circumstances.
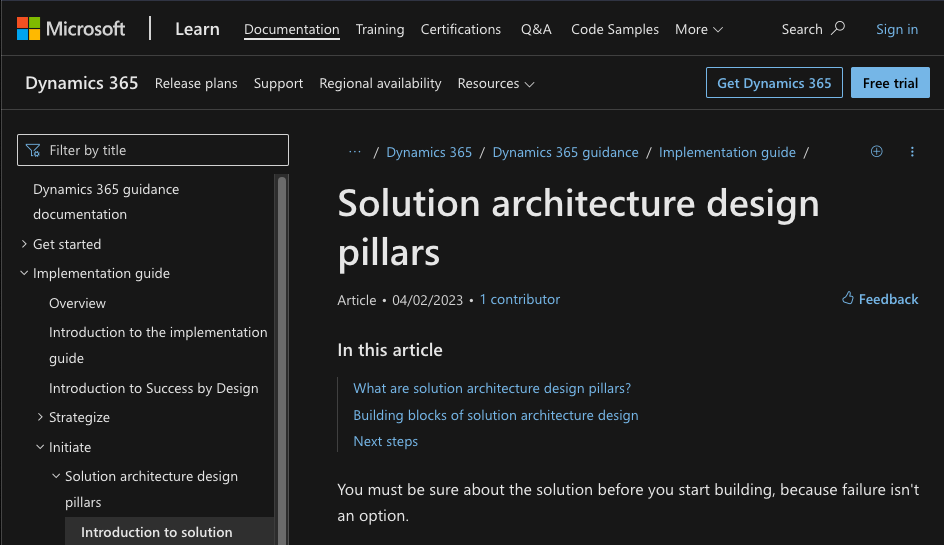
I recommend you use whatever is appropriate for your situation and thoroughly plan and test your project before you execute anything.
The worlds most famous plumber analyzing data.
Here are some things I think about when I’m planning my projects. I start with what kind of project I am building, ex: blog, e-commerce, chat app, payments, etc. Then I ask what language will my project be built in ex: PHP, Python, Java, JavaScript, C#.
From there I asked, what will be the best environment for my app? Then I ask what operating system will I need to set up for it ex: Ubuntu, Debian, Fedora, CentOS, Red Hat, Windows, MacOS?
I went with Ubuntu partly because I read this article
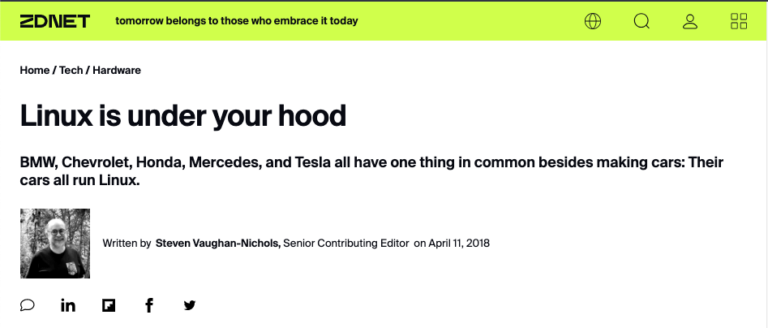
Now that we have decided on our operating system next is the cloud (production) environment we want to run it on. We have lots of options for this! But I chose Google Cloud for a few reasons. The first reason is the price! Google Cloud offers a free tier (as many other cloud providers do) and $300 in free credits for 90 days (3 months).
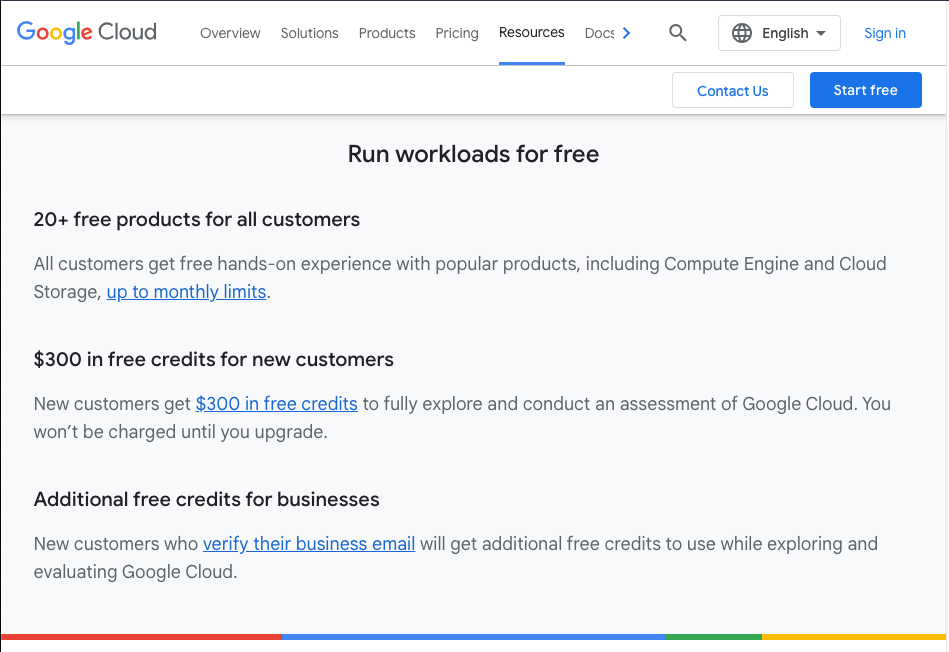
If you use this properly it can land you a job. You can build a portfolio which you can then present to employers to get hired (if that’s your goal). In my humble opinion (IMHO) portfolios are better than certificates. Portfolio projects demonstrate actual skills and effort that went into building your project. A certificate says you studied something and can memorize that information but can you apply it to an actual scenario?
Having achieved both, earning a certificate, building and presenting a relative project portfolio will put you closer or at the top of the list. I digress.
Getting back to preparing your production environment. If you’re going with Ubuntu, you must prepare your server for your app’s homecoming. It will need your SSH key and then you can log in to the server and install PHP, MySQL, Nginx and TLS/SSL. Once you have installed and configured all of that software, then and only then can you move on to the next step and install your app. But it will need transportation to get from your computer to the server.
For that, I used Deployer to transport my app to my server. It works really well once you configure it properly.
I will be covering each step in detail and showing how I overcame some errors and obstacles in future posts of this series so stay tuned.
And this, ladies and gentlemen is how you can develop and deploy your applications to start with. There are many other topics that I haven’t discussed in detail here like security, scaling, durability, redundancy, high availability, decoupling and more! That is a DEEP yet important rabbit hole that I will cover in a later post.
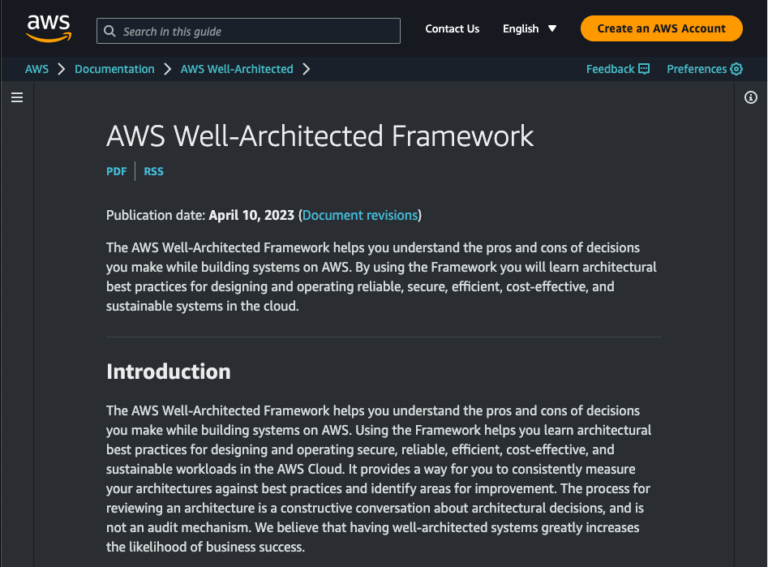
If you’d like to learn more about that AWS has a Well-Architected Framework which explains how you can cover these topics when you start to build out bigger and more complex applications. It applies to more than just AWS’s platform. It will help you structure your systems better on ANY cloud provider you use. I strongly recommend reading it. Click on the image below to read it.👇🏾
If you made it this far you’re the real MVP! 🏆
Thank you for reading this. 🙏🏾
Stay tuned, for Part 2 where I cover how to set up your development environment. 👨🏾💻